
Microsoft's first venture into the tablet market, the Surface RT, combines many of the capabilities of a normal Windows 8 laptop into a super compact tablet, whose super-thin touch cover and kickstand can transform it into a functional mini-laptop, small and light enough to go anywhere you want. But like most tablets, the Surface comes with a rather limited amount of storage space.

The tablet comes in either 32 GB or 64 GB, but we all know that's not the actual amount of storage space you can use; It comes preloaded with about 13 GBs of Microsoft-related content, and once a disk is formatted, you end up with less usable space.
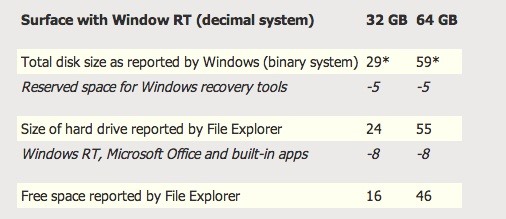
As you can see from the chart above, the 32 GB and 64 GB start out with 3 and 6 GBs of space taken up before Windows 8 RT, recovery tools, and pre-installed programs (such as Office) are even included. So, that leaves you with 16 and 46 GBs of storage space available right out of the box.
In order to gain some extra space, there's a few simple things you can do in order to add more storage for free (Skydrive, or any extra USB drives or microSD cards you have laying around) or cheap (a 64 GB class 10 microSD card is way cheaper than the 64 GB upgrade).
There are a few caveats however, so let's get into the details.
Use an External Hard Drive or Flash Drive
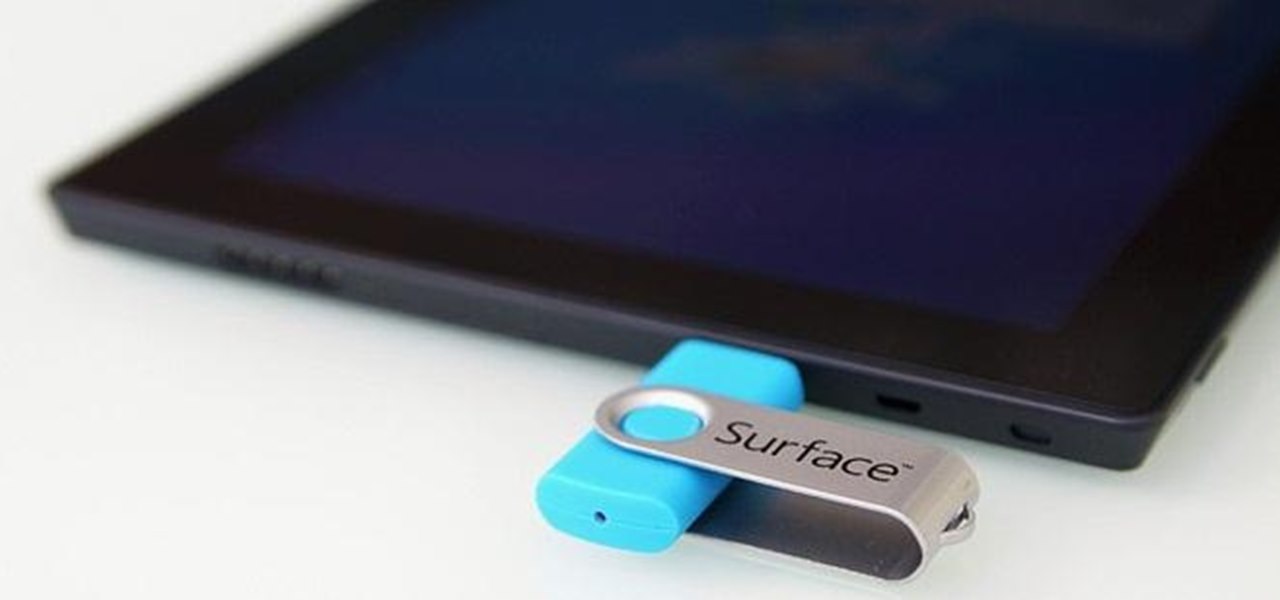
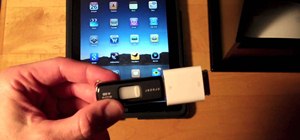
Unlike the iPad, your Surface comes with a full-sized USB port, so you can put most of your larger movie, photo, and music files onto an external hard drive or flash drive in order to save your Surface's built-in storage to install apps (which cannot be installed anywhere else).
External drives have gotten smaller and smaller, so it really isn't all that bad having to carry one or two along with your tablet.
Using this method, you won't have to worry about filling up your tablet with a bunch of files, while still having easy access to them. But what if you don't want to carry around extra devices?
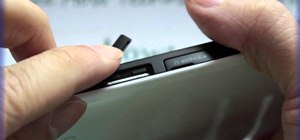
Install a MicroSD XC Card
While the 64 GB Surface costs $100 more than its 32 GB counterpart, you can expand the storage by 64 GBs for way less money by using an microSD card (another advantage the Surface has over the iPad).

The Surface is compatible with either a regular microSD memory card or a microSDHC or microSDXC card. For the best performance, we recommend finding a Class 10 or higher card.
Put Your External Storage to Use
However, there are a couple downsides to external and microSD storage versus internal storage:
- You cannot install apps from the Windows App Store on external storage. Microsoft manages all of the app storage in a new sandboxed security model.
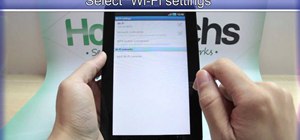
- Metro apps such as Xbox Music and Videos currently don't let you browse music or videos from anywhere other than your Music and Video libraries. By default, these libraries do not (and cannot) include removable storage devices.
Trick Windows into Thinking Your Card Is Not Removable
While the app installation location cannot be changed just yet, you can trick your Surface (or any other Windows RT or Windows 8 device) into thinking your SD card is just a folder on your built-in drive, allowing you to add it to your music and video libraries that modern apps look at.
Here's how...
Step 1: Create a Folder to Mount Your microSD Card
Go the desktop, launch File Explorer, browse to your C: drive and create a new folder. This will be the folder you'll use to mount your microSD card. I named mine "SD".

Step 2: Launch Disk Management
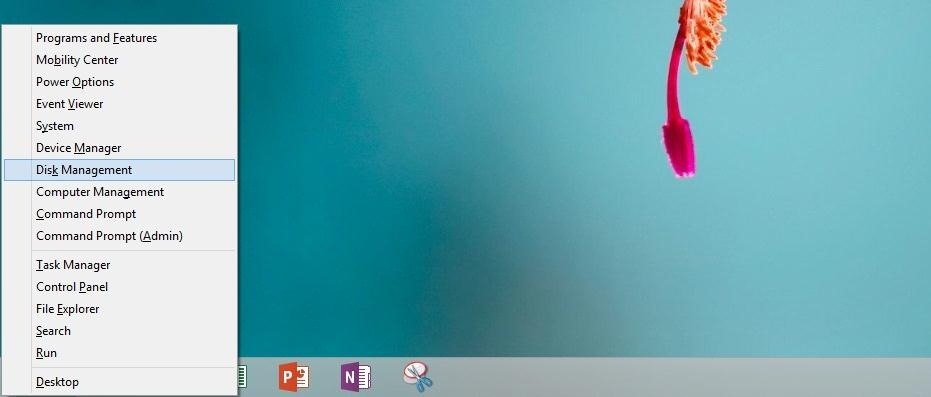
The easiest way to get there is to open the power user menu.
- If you have a keyboard, just press Windows Key + X.
- If you have a mouse, right-click in the lower-left corner of the screen.
From the menu that appears, click or tap Disk Management.
If you don't have a moue or keyboard, you can get to the same place by opening the Start Screen, and using the Search Charm (by swiping from the right-side of the screen) to search for "Disk Management". Tap Settings in the search sidebar to see the settings search results and select "Create and format hard disk partitions" to launch the Disk Management window.

Step 3: Mount Your SD Card as an NTFS Folder
From the Disk Management window, right-click on your SD card (or if you don't have a mouse, tap and hold), and select Change Drive Letter and Paths....

In the windows that opens, click Add and then Browse... under the Mount in the following NTSF folder option.
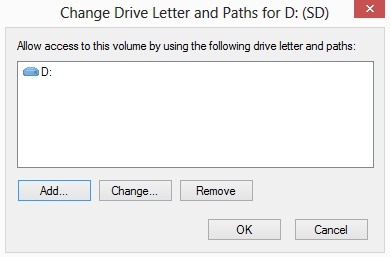
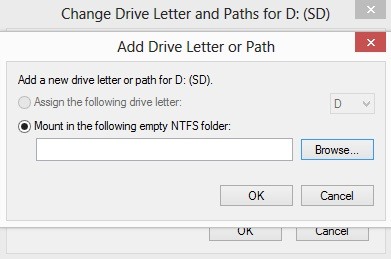
From the prompt that opens, Select the folder you created earlier on your C: drive (again, I called mine "SD") and click OK.
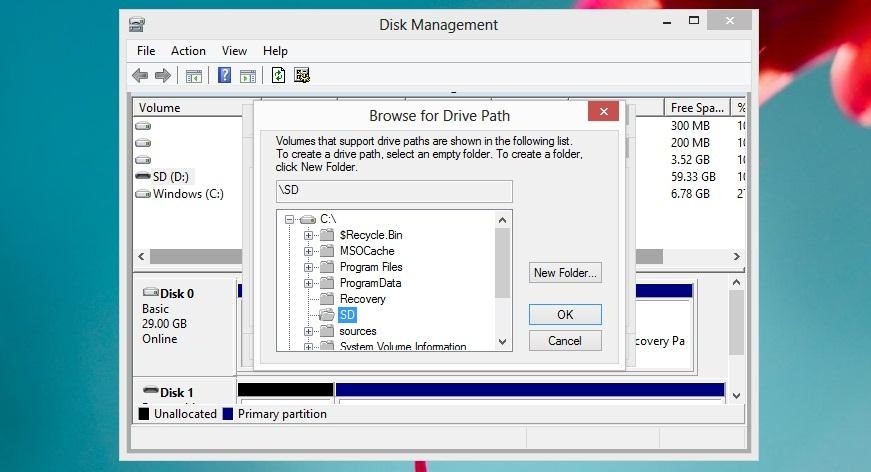
Click "OK" again, and close out of Disk Management. Your SD card has now been mounted as a folder on you C: drive.
Step 4: Add Your SD Card to Your Media Libraries
You're now ready to create sub-folders for your music, videos, pictures, and documents to store on your SD card.
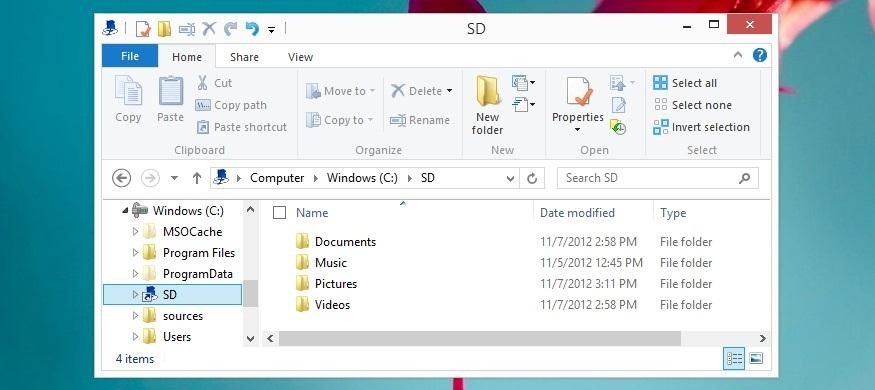
Go back to the File Explorer and navigate to the folder you created. It will now show you all of the contents on you SD card. As we want to store all of our music, videos, and documents here instead of on the internal storage, we're going to create new folders to link up with the appropriate libraries.
So, create 4 new folders and name them Music, Videos, Pictures, and Documents.
Now, just add each of the folders to their appropriate library by repeating the following steps for Music, Videos, Pictures, and Documents:
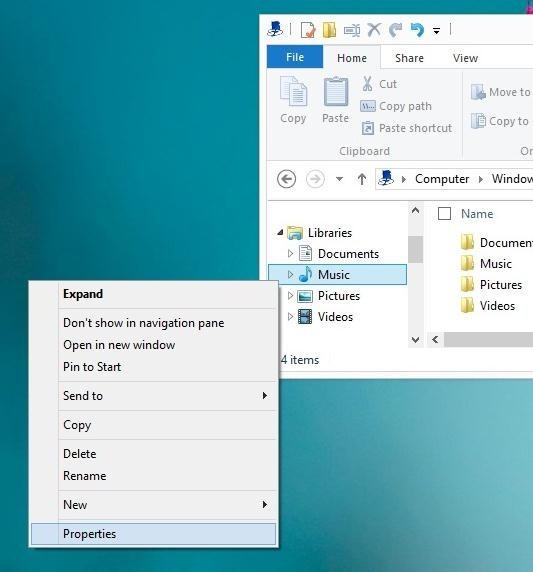
- Right-click (or tap and hold) on each Library folder in the left column and select Properties.
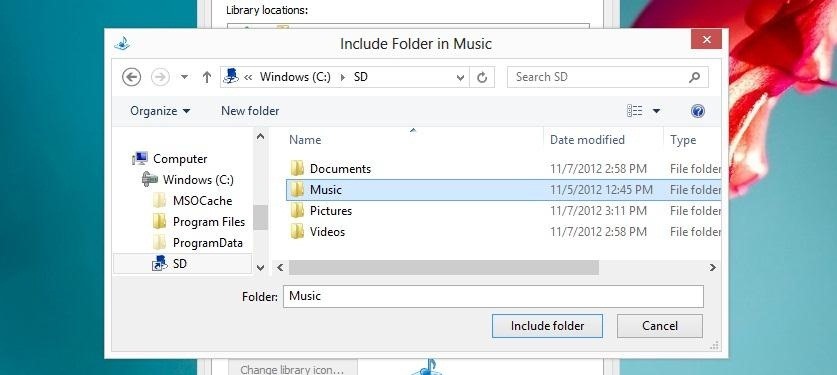
- Click Add.
- Select the appropriate folder in you mounted SD folder (ex. Music for the music library, Videos for the videos library, Pictures for the... well, you get the point).
- Click OK.
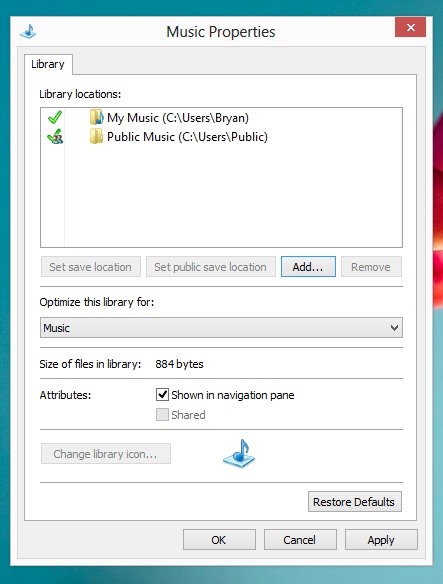
If you'd like to save new music, images, documents, and videos to you SD card by default, you can select the newly added folder from the list in your library, and click the "Set Save Location" and "Set Public Save Location" buttons.
And that's it!
Now all of the music and videos you store on your microSD card will automatically show up in your Windows Store media apps.
As a Free Option, You Can Also Use SkyDrive
SkyDrive is Microsoft's cloud storage system.
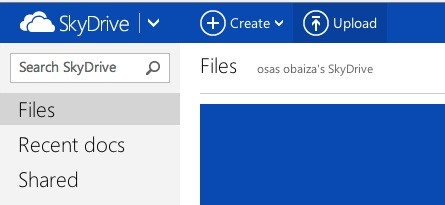
Similar to DropBox and iCloud, you can upload large or small files, and access them anywhere, anytime from your Surface. You also get 7 GB of free storage when you sign up.
Once you've linked you account to SkyDrive, you'll be able to stream any music or videos you save in you SkyDrive using the built in apps... so long as you have an internet connection.
Just updated your iPhone? You'll find new emoji, enhanced security, podcast transcripts, Apple Cash virtual numbers, and other useful features. There are even new additions hidden within Safari. Find out what's new and changed on your iPhone with the iOS 17.4 update.


6 Comments
Very useful information Kudos
Hi,
Just purchased an RT and purchased a 64 gig sdxc card.
I tried to follow your directions above, however, when I try to change the drive letter and path to the new folder "SD" that I made on the "C" drive, I does not allow me to select OK... my only option is new folder. I seclected new folder but everything I do is still being saved to the "C" drive and not the scandisk "D".
Can you think of anything I'm doing wrong?
Jim
Osas, I've tried on SurfaceRT 8.1, in step4
"•Right-click (or tap and hold) on each Library folder in the left column and select Properties. •Click Add. •Select the appropriate folder in you mounted SD folder (ex. Music for the music library, Videos for the videos library, Pictures for the... well, you get the point). •Click OK."
... I get this error: "This folder can't be included because it is on a removable device. C:\SD\Video "
Would be appreciate any help you can provide... Thanks.
I got the same problem as Les Urbanski on my new Surface Pro 2--which I love by the way, no matter what the haters say.
Windows 8.1 has added native support for saving media to a removable card, so you don't have to do this anymore.
This will let you choose which media you want to save to your SD card.
That said, if you still want to fake it, you can create a Virtual Hard Drive and save it to your SD card, then mount that, and Windows won't know it's removable. This is a fairly complex process though as it'll require you to create a startup script to re-mount the VHD every time you reboot.
Thanks, so much! Just as I was getting ready to mount my SD but something told me to read the comments... you had to have saved me at least 5 minutes of my life!
Share Your Thoughts